Is Your ISP Spying on You? Here’s How to Hide Your Search History and Stay Safe Online
As someone who is passionate about online privacy and security, I know how important it is to protect your personal information from prying eyes. If you’re like most people, you probably assume that your internet service provider (ISP) isn’t monitoring your online activities. Unfortunately, this assumption is often wrong, and many ISPs do track and store your search history. But don’t worry – I’m here to help. In this blog post, I’ll show you how to hide your search history from your ISP, so you can browse the web with confidence and peace of mind.
You can hide your search history from your ISP by using a VPN to encrypt your traffic and hide your IP address, a Tor browser to encrypt and route your traffic through servers, or HTTPS Everywhere to encrypt your web traffic. These methods provide increased privacy and security while browsing the web.
Now that you know what approaches you can take to hide your search history from your ISP, you may be wondering how to do it. Don’t worry – I’m here to help. In the following sections, I’ll provide you with detailed information on different methods you can use to hide your search history, as well as additional tips for protecting your online privacy. By the end of this article, you’ll have a comprehensive understanding of how to keep your search history hidden from ISPs and maintain your online privacy. So keep reading to learn more!
How to Use a VPN to Hide Your Search History
If you’re looking for a reliable and effective way to hide your search history from your ISP, using a Virtual Private Network (VPN) is one of the most popular options. A Virtual Private Network (VPN) is a tool that allows you to create a secure and private connection to the internet. When you use a VPN, your internet traffic is encrypted and routed through a server located in another location, making it difficult for anyone to track your online activities.
When you connect to a VPN, your device creates a secure, encrypted connection to the VPN server. All of your internet traffic is then routed through this secure connection, which helps to hide your IP address and protect your online activities from prying eyes.
One of the key benefits of using a VPN is that it can help to protect your online privacy by preventing your ISP from tracking your activities. This is because your internet traffic is encrypted and routed through the VPN server, making it much more difficult for anyone to see what you’re doing online.
Considerations when choosing a VPN provider
To use a VPN to hide your search history, the first step is to choose a reputable VPN provider that offers high-speed connections, strong encryption, and a large selection of server locations. Here are some considerations to keep in mind when choosing a VPN provider:
- Reputation: Look for a VPN provider with a good reputation for privacy and security. Check reviews and ratings from other users to get a sense of their experiences.
- Logging policy: Make sure the VPN provider has a strict no-logging policy, meaning they do not track or store any of your online activity.
- Speed and reliability: Choose a VPN provider with fast and reliable servers to ensure smooth and uninterrupted internet access.
- Server locations: Consider the number and location of servers available. The more server locations, the more options you have for bypassing online restrictions and accessing content.
- Price: VPN services can vary widely in price, so consider your budget and choose a provider that offers a balance of affordability and quality.
- Compatibility: Check that the VPN provider is compatible with all of your devices and operating systems.
- Customer support: Look for a provider with responsive and helpful customer support in case you run into any issues.
By taking these factors into consideration, you can choose a VPN provider that meets your needs and helps keep your online activity private and secure.
Step-by-step instructions for how to set a VPN on your device
Now you have chosen a VPN provider, the next thing you will do is buy the VPN service and download the application that is suitable to the device you use. Then install it. I wrote an article that describes this in detail, including where to download the VPN application, how to install it on your device, and how to choose the protocol before you make the VPN connection. Its name is A Beginner’s Guide to Buying a VPN. You can click this link to the article on this website to read it.
After installing the VPN software, you’ll need to connect to one of the provider’s servers. This will vary depending on the VPN provider you choose, but most VPNs have a list of available servers that you can choose from.
Following is the screenshot that I took when I was using ExpressVPN on my Windows Laptop. You can see there is a window of a list of the VPN servers pop up when you click on the three dots on the right side of the Selected Location option box. Then you can choose one you’d like to connect with. All VPN applications from different VPN providers work in a similar way.
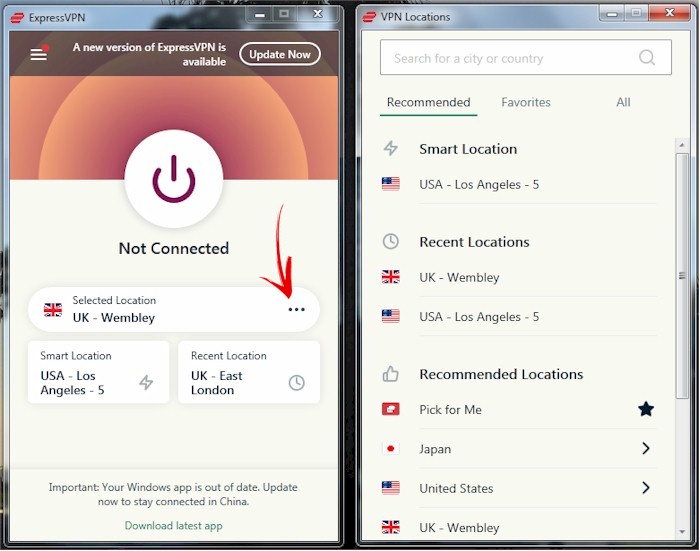
I always choose the VPN server according to the need to watch streaming TV programs. For example, I’ll choose to connect to London/UK when I need to watch the match of the day on BBC, or I’ll connect to Montreal/Canada when I need to watch Premier League games on DAZN.
Actually, I rarely think about the speed when making the choice of which VPN server node to connect to since it barely has a noticeable difference affective in speed. Even it is certain a VPN serve node located in Canada is near to me than the one in the UK.
Though people always say you’ll want to choose a server location that is geographically close to you, as this will provide the fastest connection speeds. You could make right decision based on your own experience of this.
Once you’ve connected to a VPN server, you can start browsing the websites and search on Google or any other search engine. You wouldn’t care about the ISP anymore since there is no way your ISP can track your online activities.
You have to understand that though a VPN can help hide your search history from your ISP, it’s not a foolproof solution. You are still tracked by the websites you access, the social media platforms you engage in. They use other ways to do it, such as cookies, digital fingerprints, etc. You can learn more about this by reading another article I wrote, and its name is Unmasking the Truth: Can Your VPN Really Keep You Anonymous Online?
How to Use a Tor Browser to Hide Your Search History
The Tor browser is a free and open-source web browser that allows you to browse the internet anonymously. It uses the Tor network, a decentralized server network that helps protect your online privacy by routing your internet traffic through a series of encrypted nodes.
When you use the Tor browser, your internet traffic is encrypted and routed through multiple nodes in the Tor network, making it difficult for anyone to trace your online activities back to you. This helps to protect your online privacy and prevent anyone from tracking your online activities.
One of the key benefits of the Tor browser is that it allows you to access websites and content that may be blocked in your country or region. It also helps to protect your online identity and keep your personal information secure while browsing the web.
Though I don’t have very good experience with using the tor browser, it’s bloody slow, and I felt that I couldn’t bear to wait and wait. Apart from that, you have to remember to use good security practices when using the Tor browser, such as avoiding downloading files or sharing personal information while browsing the web.
Overall, the Tor browser is a powerful tool for protecting your online privacy and accessing content that may be blocked in your country or region, but it’s important to use it responsibly and with caution.
The Tor browser differs from a regular browser in that it uses the Tor network to route your internet traffic through multiple encrypted nodes, making it difficult for anyone to trace your online activities back to you.
On the other hand, regular browsers typically send your internet traffic directly to the websites you visit without encryption or anonymization.
Here is how you use the Tor browser to browse the web anonymously and hide your search history, follow these steps:
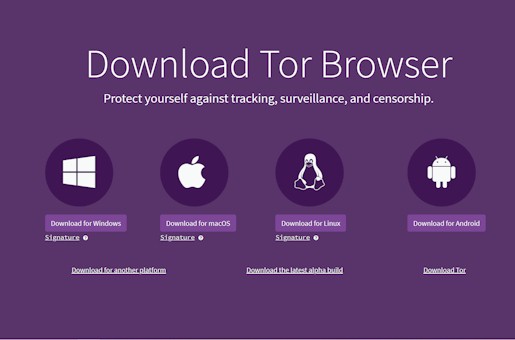
- Download and install the Tor browser: You can download the Tor browser for free from the official Tor Project website.
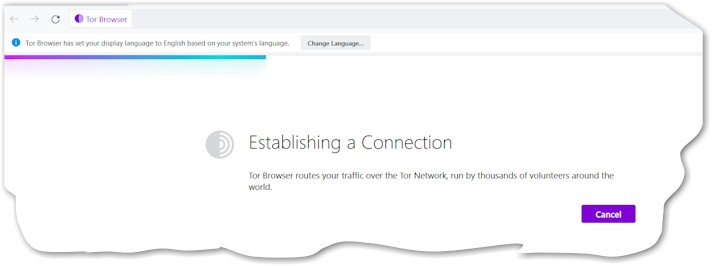
- Launch the Tor browser: Once the Tor browser is installed, launch it like you would any other application. Before you use it, you have to let it connect to the Tor network first. After it connects successfully, you are ready to use it.
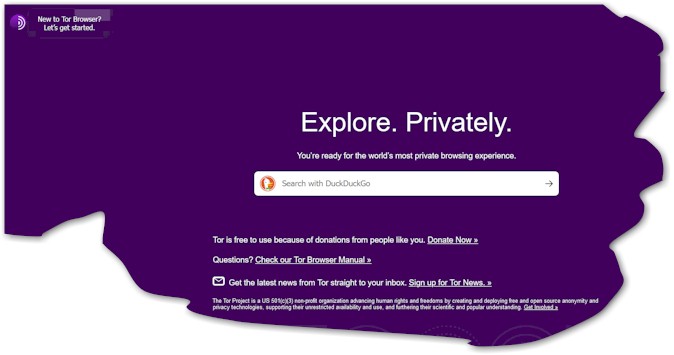
- Browse the web anonymously: The Tor browser should automatically connect to the Tor network and allow you to browse the web anonymously. Remember that using the Tor network may slow down your internet connection and make some websites load more slowly.
- Use private browsing mode: To protect your online privacy further and hide your search history, use the private browsing mode in the Tor browser. This will prevent the browser from storing data about your online activities, including your search history, cookies, and temporary files.
- Avoid downloading files or sharing personal information: While using the Tor browser can help to protect your online privacy, it’s important to use good security practices and avoid downloading files or sharing personal information while browsing the web.
By following these steps, you can use the Tor browser to browse the web anonymously and hide your search history from your ISP.
Other Tools and Techniques for Hiding Your Search History
In addition to using a VPN or the Tor browser to hide your search history from your ISP, there are other privacy-focused tools and techniques that can help you protect your online privacy. Here are a few options to consider:
- Browser extensions: There are several browser extensions available that can help to protect your online privacy and hide your search history from your ISP. For example, HTTPS Everywhere is a free extension that encrypts your web traffic and prevents ISPs from seeing what websites you visit. Privacy Badger is another popular extension that blocks tracking cookies and other forms of online tracking.
- Privacy-oriented search engines: Using a privacy-oriented search engine can also help to keep your search history hidden from your ISP. Some popular options include DuckDuckGo, StartPage, and Qwant. These search engines don’t track your online activities or store your search history, which helps to protect your privacy.
- Clearing your browser history: Clearing your browser history regularly can also help to keep your search history hidden from your ISP. Most browsers allow you to clear your history with just a few clicks, which erases any record of the websites you’ve visited.
- Using a private browsing mode: Using a private browsing mode, also known as incognito mode, can prevent your browser from storing any data about your online activities, including your search history. However, keep in mind that private browsing mode won’t protect you from your ISP seeing your internet traffic.
By using these privacy-focused tools and techniques, you can help to keep your search history hidden from your ISP and protect your online privacy.
Why You Need to Hide Your Search History from Your ISP
ISPs may track users’ search history for a variety of reasons. One of the main reasons is to gather data for advertising purposes. By tracking users’ online activities, ISPs can build detailed profiles of their customers and use this information to serve them targeted ads.
Another reason why ISPs may track users’ search history is to comply with legal and regulatory requirements. In some countries, ISPs are required by law to track and retain user data for a certain period of time. This data may be used for law enforcement purposes, such as investigating criminal activity.
ISPs may also track users’ search history to manage their network and ensure that it’s running efficiently. By monitoring the types of websites and applications that their customers are using, ISPs can identify potential bottlenecks and optimize their networks accordingly.
While there may be legitimate reasons for ISPs to track user data, many users are understandably concerned about the privacy implications of this practice. By hiding your search history from your ISP, you can help protect your online privacy and prevent your personal information from being used for targeted advertising or other purposes that may be harmful to your life.
There are several potential risks associated with ISPs tracking users’ search history. One of the most significant risks is targeted advertising. ISPs can use the data they collect to build detailed profiles of their customers and serve them targeted ads based on their online activities. This can feel invasive and intrusive to many users, as it can make them feel like they’re being watched.
Another potential risk is the possibility of data breaches. If an ISP’s servers are hacked or compromised, users’ search history and other personal information could be exposed. This could lead to identity theft, fraud, or other serious consequences.
Finally, there is the risk of government surveillance. In some countries, ISPs are required by law to track and retain user data for a certain period of time. This data can be accessed by government agencies for law enforcement or national security purposes. While this may be necessary in some cases, it can also be seen as an infringement on individual privacy and civil liberties.
By taking steps to hide your search history from your ISP, you can help to mitigate these risks and protect your online privacy. Using a VPN or other privacy-focused tools can help to ensure that your online activities are kept private and secure.
Best Practices for Maintaining Your Online Privacy
In today’s digital age, maintaining online privacy is of utmost importance. With an increasing number of cyber threats and online scams, it has become imperative to take necessary measures to safeguard your personal information. Here are some best practices that can help you maintain your online privacy:
1. Use Strong Passwords
A strong password is the first line of defense against unauthorized access to your accounts. A strong password should be at least 12 characters long, containing uppercase and lowercase letters, numbers, and special characters. Avoid using the same password for multiple accounts, and change your password frequently.
2. Use Two-Factor Authentication
Two-factor authentication adds an extra layer of security to your accounts by requiring you to enter a code sent to your phone or email in addition to your password. It’s a simple and effective way to prevent unauthorized access to your accounts.
3. Limit The Amount Of Personal Information
You Share Online Be mindful of the personal information you share online. Social media platforms are notorious for collecting and sharing user data. Avoid sharing sensitive information such as your home address, phone number, and social security number. Review the privacy settings of your social media accounts to ensure your information is not being shared with third-party apps.
4. Use a VPN
A VPN or Virtual Private Network encrypts your internet traffic and routes it through a server, hiding your IP address and location. This makes it difficult for hackers to intercept your online activity. Use a reputable VPN service to protect your online privacy.
5. Be Wary of Phishing Scams
Be Wary of Phishing Scams Phishing scams are a common tactic used by hackers to obtain personal information such as passwords and credit card numbers. Be wary of suspicious emails or messages that ask you to click on a link or provide personal information. Avoid clicking on links from unknown sources, and always verify the authenticity of the sender.
6. Update Your Software Regularly
Software updates often contain security patches that fix vulnerabilities that can be exploited by hackers. Keep your operating system, web browser, and antivirus software up to date to ensure the latest security measures are in place.
7. Use Encryption
Encryption is a process that converts your data into a code that can only be deciphered by authorized parties. Use encryption to protect sensitive information, such as financial transactions and personal messages. Popular encryption tools include PGP and S/MIME.
8. Regularly Check Your Accounts for Suspicious Activity
Regularly monitoring your accounts for suspicious activity is a simple and effective way to protect your online privacy. Review your account activity logs and check for any unauthorized access or suspicious activity. If you detect any unauthorized activity, immediately change your password and contact the appropriate authorities.
9. Use Private Browsing Mode
Most web browsers offer a private browsing mode that does not store your browsing history or cookies. Use private browsing mode when accessing sensitive information such as online banking or email accounts.
10. Be Mindful of Public Wi-Fi Public
Wi-Fi networks are often unsecured, making them vulnerable to hackers. Avoid accessing sensitive information such as online banking or email accounts when connected to public Wi-Fi. Use a VPN when accessing public Wi-Fi to encrypt your internet traffic.